This guide will look at the Documents area within a Student record.
TABLE OF CONTENTS
Configuring Document Categories
1. To set up document categories, head to Administration > Standard Values and locate the General Values box.
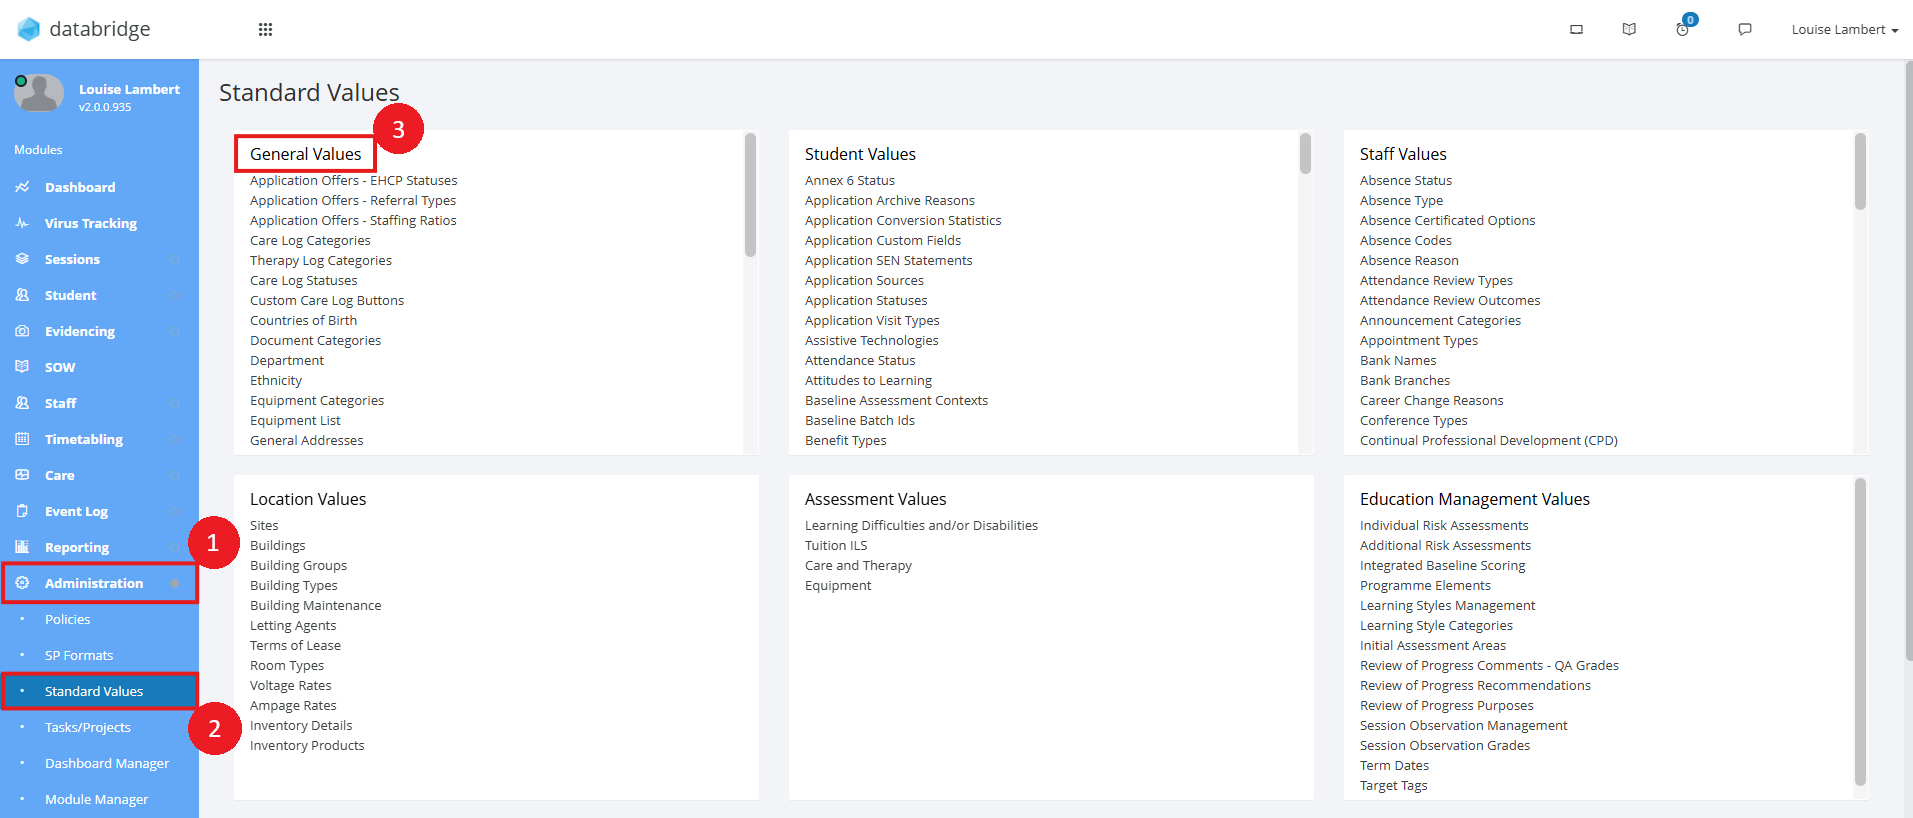
2. Within this box, click Document Categories.

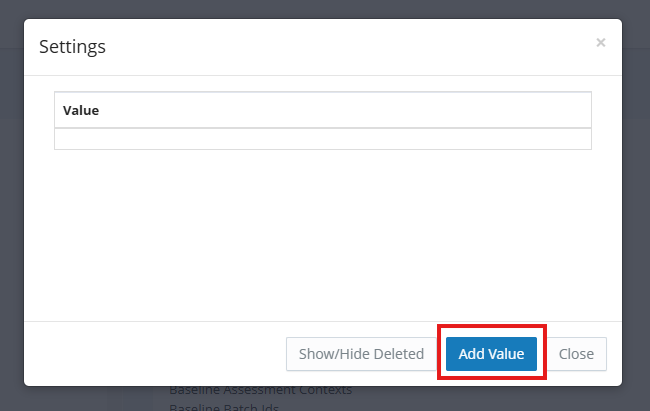
3. A window will appear where you can click Add Value to create a new category.
4. Give this category a name and click Save.
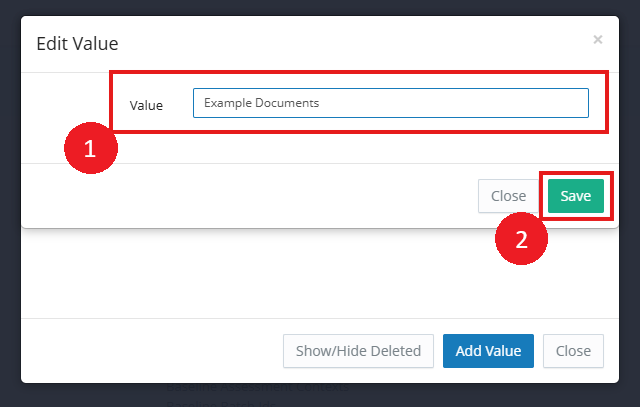
Note:
You can edit or delete categories by clicking the notepad icon next to the relevant category.
Adding a Document to a Student Record
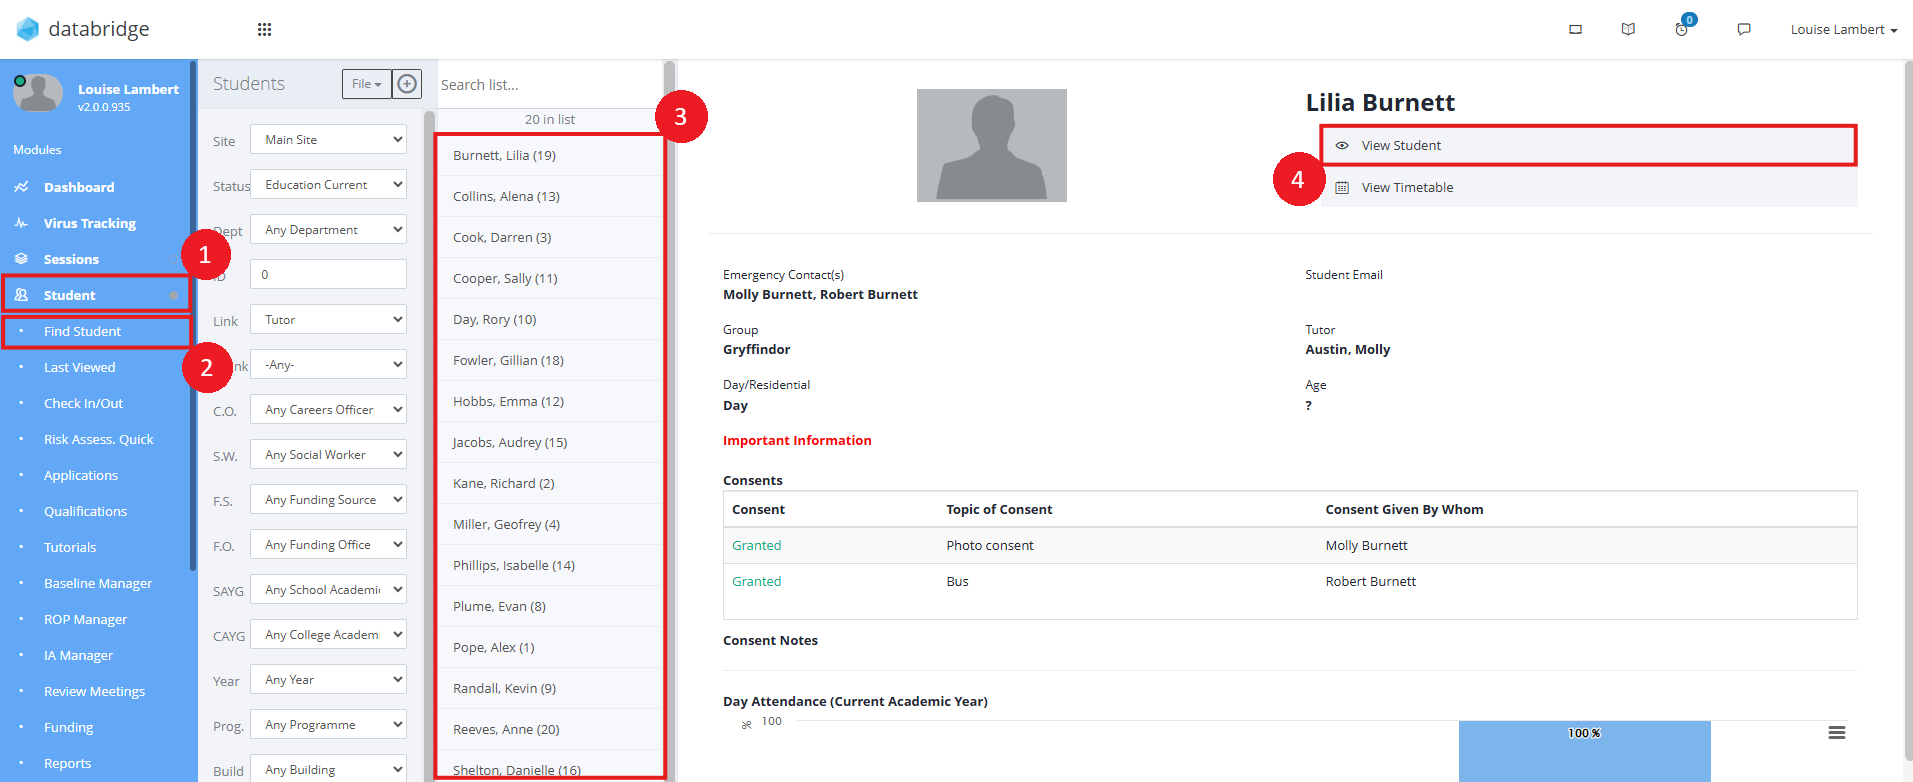
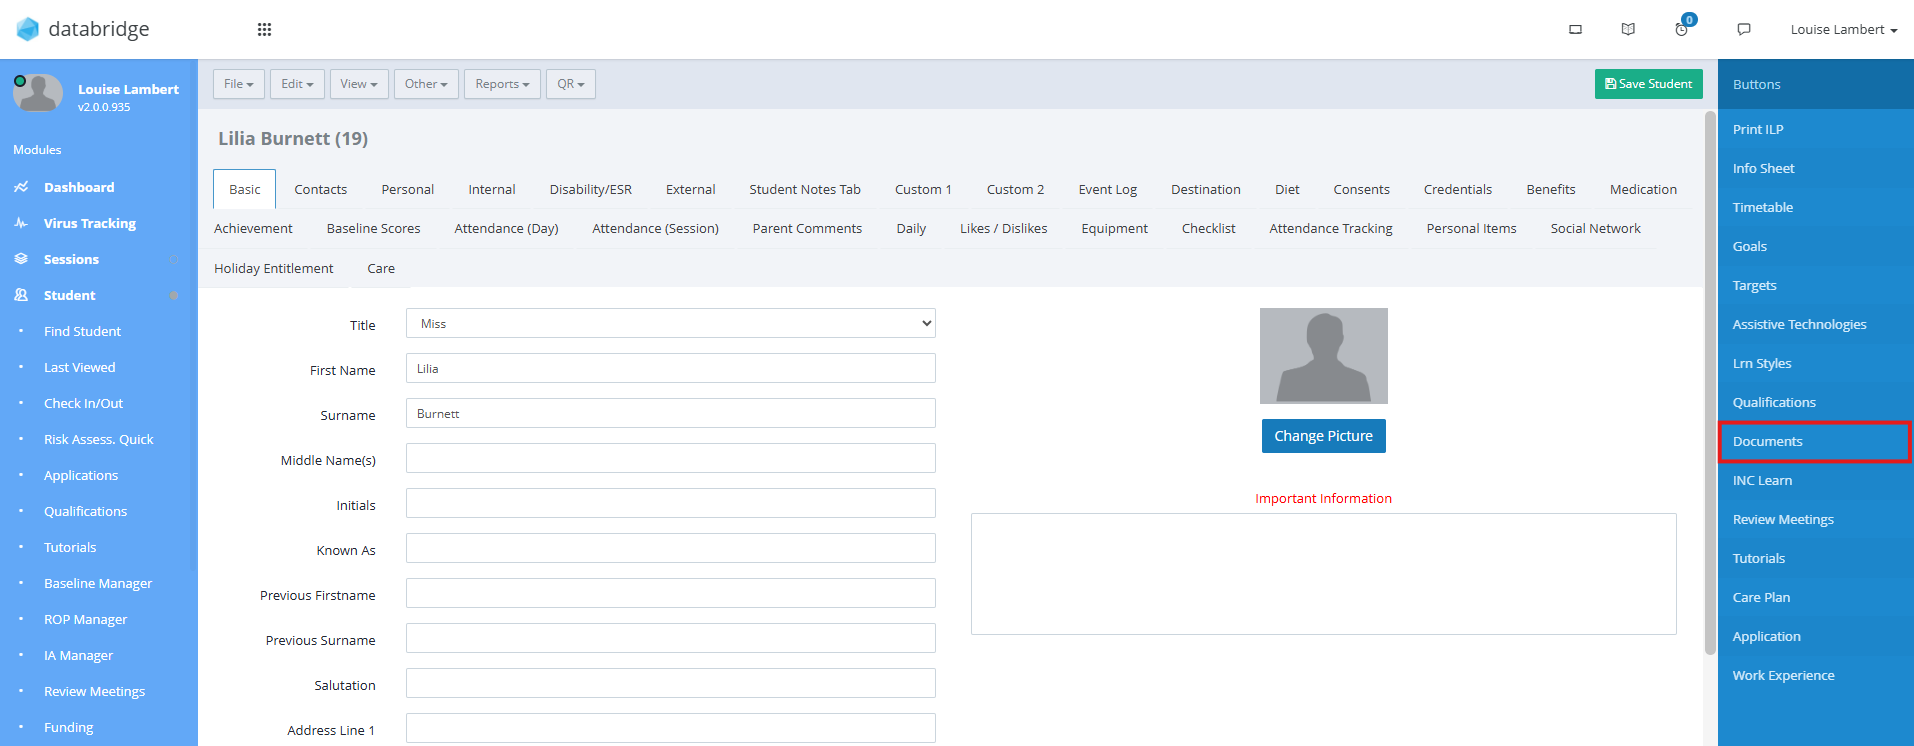
1. To add a Document to a Student Record, first navigate to the relevant Students record via Student > Find Student > *selecting the relevant Student from list* > View Student.
2. Once in their record, select Documents on the right hand side.
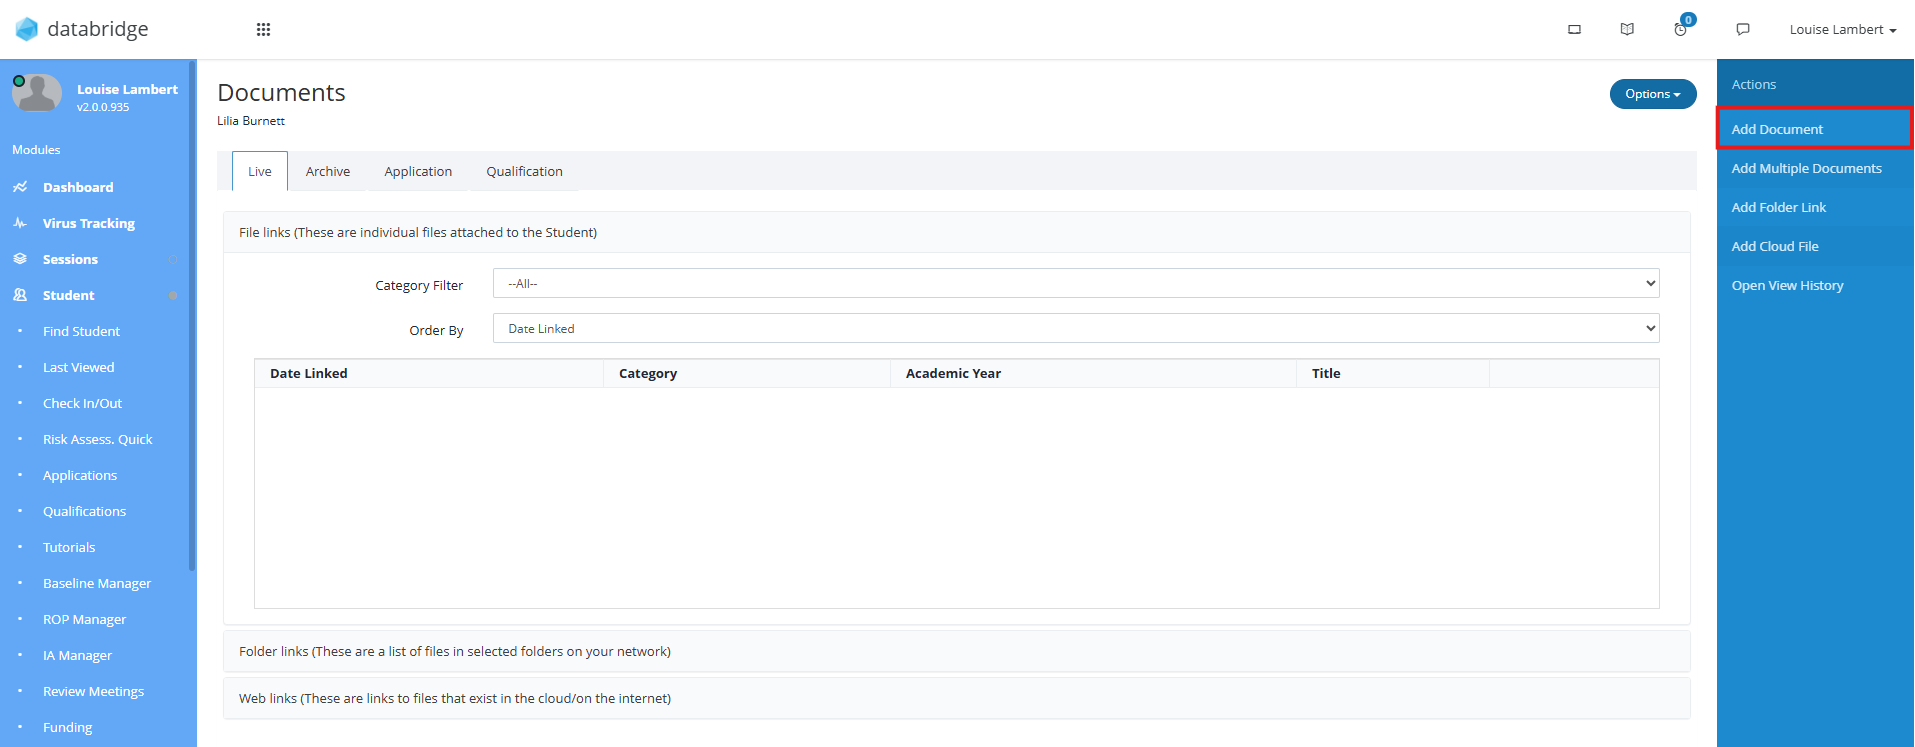
3. To add a new Document, click Add Document.
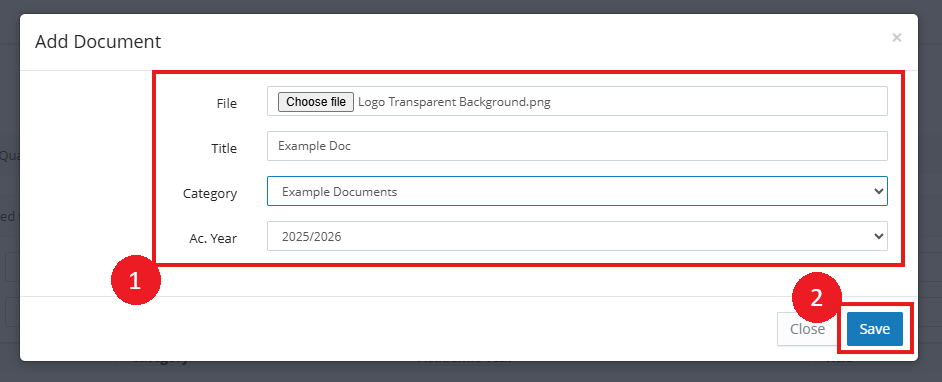
4. Select the Document you wish to upload by clicking Choose File, give the Document a Title and select a Category and Ac. Year if required. Click Save to add the document.
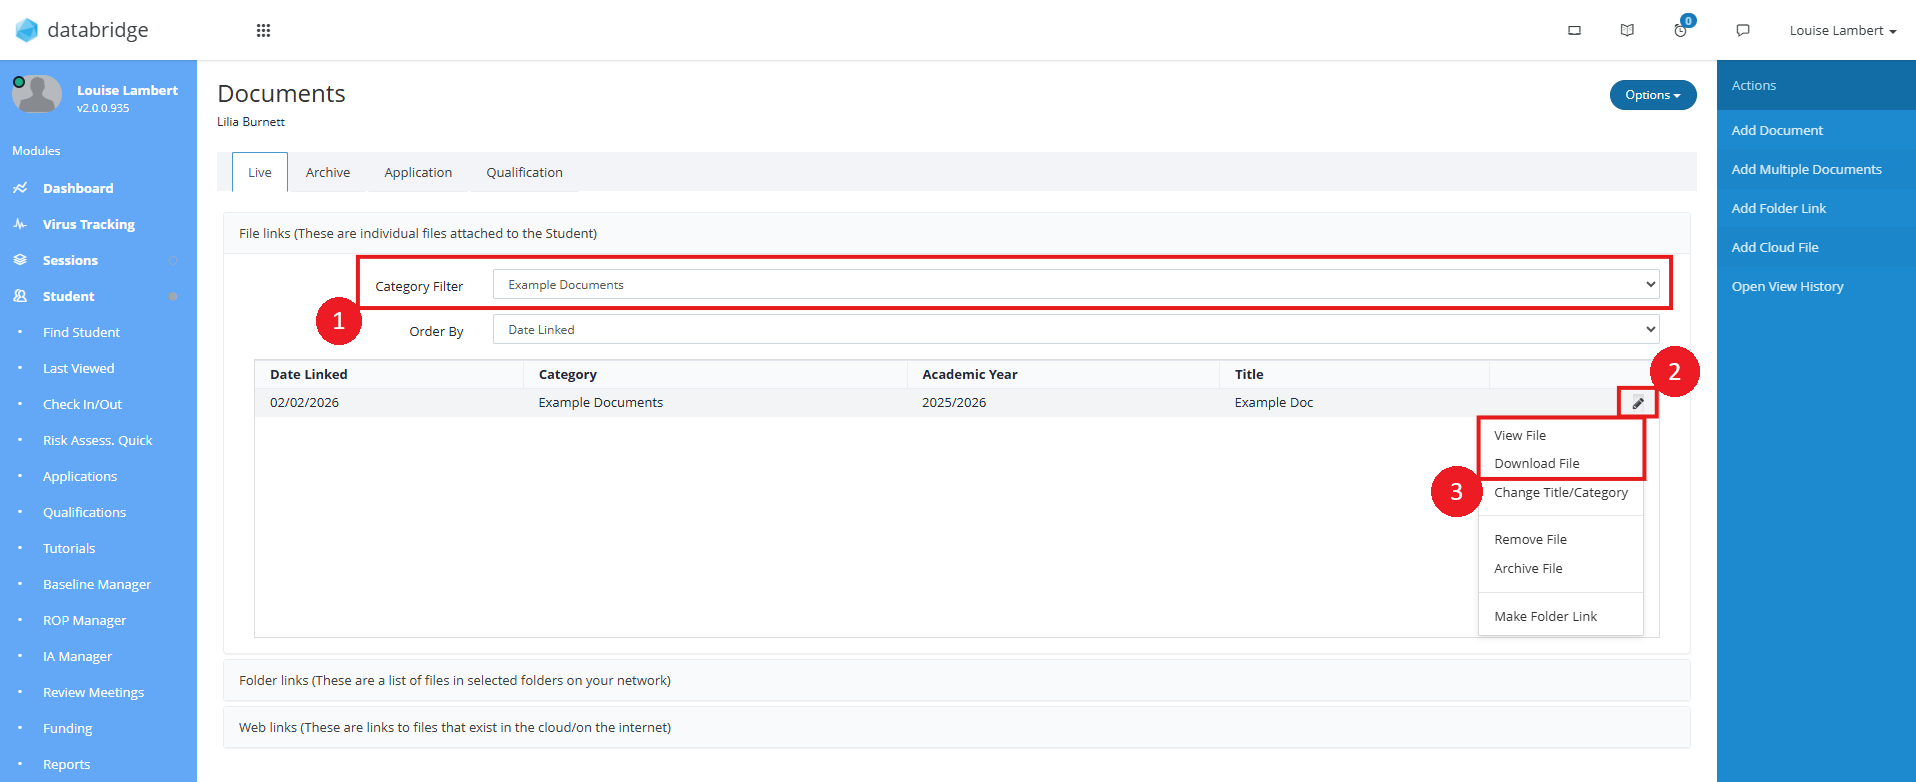
5. The document will now appear in the list. You can use the Category Filter dropdown to view all documents linked to that particular Category. To view a particular document, click the Pencil Icon next to the relevant entry and select either View File or Download File.
Was this article helpful?
That’s Great!
Thank you for your feedback
Sorry! We couldn't be helpful
Thank you for your feedback
Feedback sent
We appreciate your effort and will try to fix the article